Step-by-Step Guide to Oil Painting for Beginners
Unlock the timeless art of oil painting with our comprehensive guide. From gathering materials to mastering techniques, this step-by-step tutorial will inspire beginners to create stunning, expressive works on canvas. Dive into your artistic journey today!

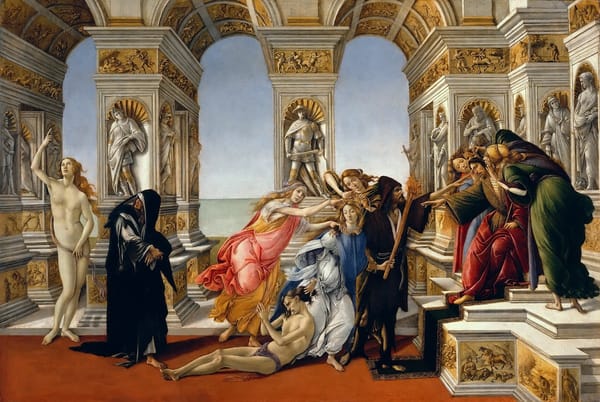
Oil painting, renowned for its rich textures, vibrant colours, and longevity, has been a favoured medium for artists for centuries. From the detailed realism of the Renaissance to the expressive brushstrokes of the Impressionists, oil paints have played a pivotal role in the evolution of art. For beginners, diving into oil painting can seem daunting, but with the right guidance, it can be a rewarding and enriching experience. This guide will walk you through the essential steps and techniques to get started on your oil painting journey.
1. Gathering Your Materials
Before you begin, ensure you have the necessary materials. Investing in quality supplies can make a significant difference in your painting experience and outcomes.
a. Paints:
- Start with a basic palette of primary colours (red, blue, yellow), along with white and black. You can mix these to create a wide range of hues.
- Consider purchasing a set of student-grade oil paints, which are more affordable yet provide good quality.
b. Brushes:
- Get a variety of brushes, including flat, round, and filbert shapes, in different sizes. Natural bristle brushes are preferred for their durability and ability to hold paint well.
c. Canvas:
- Choose pre-stretched and primed canvases for convenience. Canvas boards or panels are also suitable for beginners.
d. Palette:
- Use a wooden or glass palette for mixing colours. Disposable paper palettes are also an option.
e. Solvents and Mediums:
- Turpentine or odourless mineral spirits for cleaning brushes.
- Linseed oil or a pre-mixed medium for mixing with your paint to alter its consistency and drying time.
f. Easel:
- An easel provides a comfortable working position and better control over your painting surface.
g. Palette Knife:
- Useful for mixing colours and applying thick paint.
2. Setting Up Your Workspace
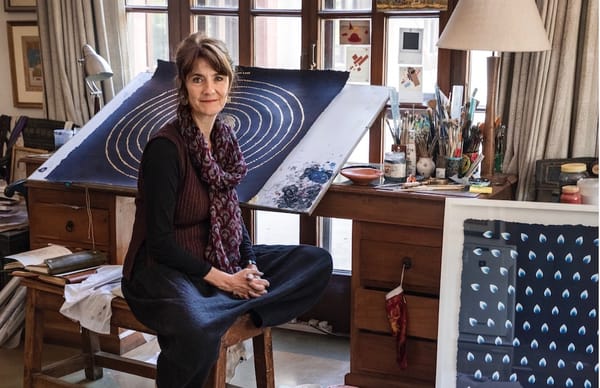
Create a comfortable and well-ventilated workspace. Good lighting is essential, preferably natural light or a combination of daylight and warm artificial light to accurately see colours.
a. Organize Your Materials:
- Arrange your brushes, paints, and other supplies within easy reach.
b. Protect Your Area:
- Use a drop cloth or newspaper to protect your workspace from spills and splatters.
c. Ventilation:
- Ensure proper ventilation to dissipate fumes from solvents and mediums.
3. Understanding Colour Mixing and Theory
A fundamental aspect of oil painting is understanding how to mix colours effectively.
a. Primary Colours:
- Learn to mix primary colours (red, blue, yellow) to create secondary colours (green, orange, purple).
b. Colour Wheel:
- Familiarize yourself with the colour wheel to understand complementary and analogous colours, which can help in creating harmonious colour schemes.
c. Value and Tone:
- Experiment with adding white to lighten (tints) and black to darken (shades) colours. Understanding value helps in creating depth and dimension in your painting.
4. Preparing Your Canvas
Before applying paint, you need to prepare your canvas properly.
a. Priming:
- Ensure your canvas is primed with gesso. If it’s not pre-primed, apply a couple of coats of gesso, allowing it to dry between layers.
b. Toning:
- Consider toning your canvas with a thin wash of a neutral colour like burnt sienna. This reduces the starkness of the white canvas and provides a mid-tone background to work on.
5. Sketching Your Composition
Outline your composition on the canvas using a pencil or a thin wash of paint.
a. Simple Sketch:
- Keep your initial sketch simple and loose, focusing on the basic shapes and composition rather than details.
b. Underpainting:
- Create an underpainting (grisaille) using a single colour to establish the tonal values. This serves as a guide for the final layers of paint.
6. Building Layers and Applying Paint
Oil painting involves building up layers to achieve depth and complexity.
a. Fat Over Lean:
- Follow the “fat over lean” rule, applying thicker (fat) layers of paint over thinner (lean) layers. This prevents cracking as the painting dries.
b. Blocking In:
- Start by blocking in the major shapes and colours, focusing on the larger areas of the composition.
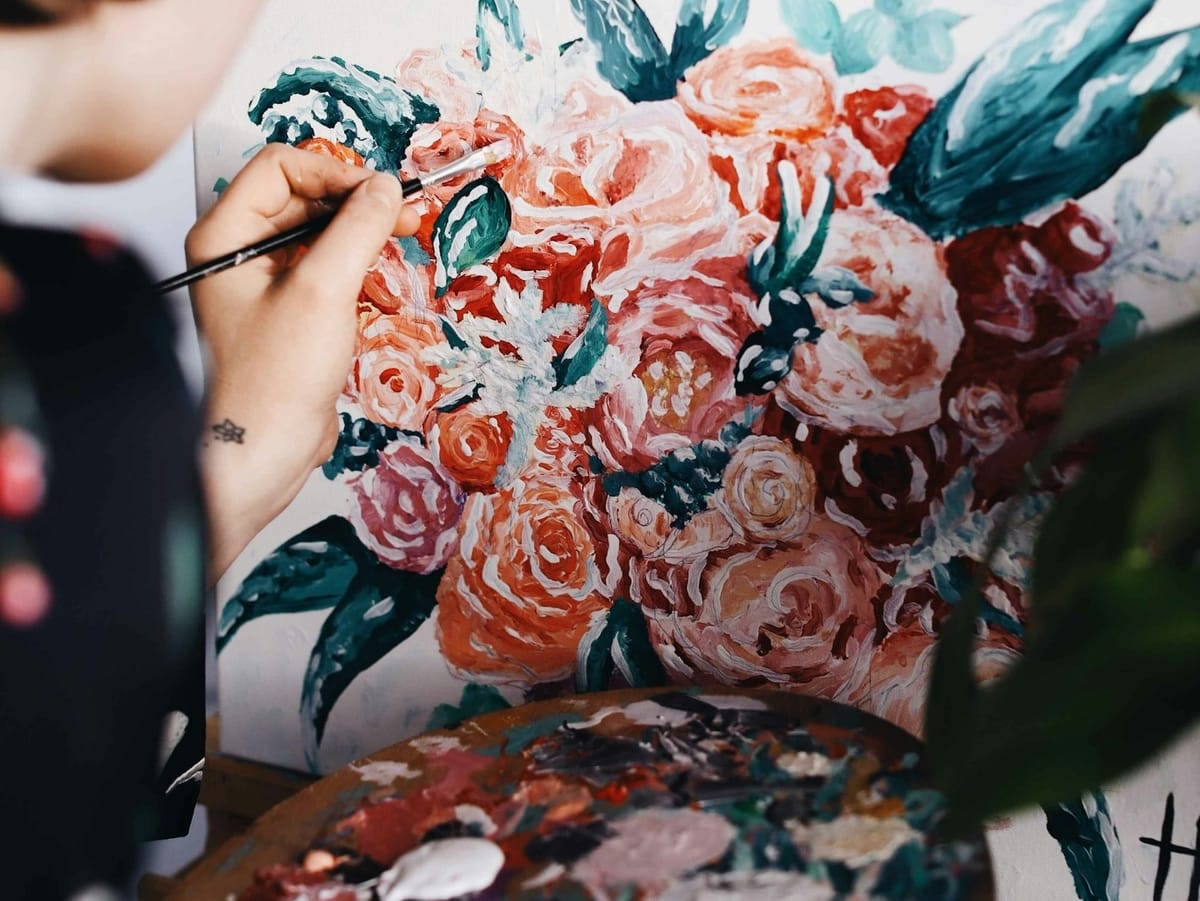
c. Adding Details:
- Gradually build up details, refining shapes, and adding texture. Use smaller brushes and more precise strokes for finer details.
d. Blending:
- Blend edges and transitions smoothly, using a clean, dry brush or a blending brush. This technique is especially useful for creating gradients and soft shadows.
e. Scumbling and Glazing:
- Experiment with scumbling (dry brushing a thin layer of opaque paint) and glazing (applying a thin, transparent layer of paint) to create different effects and enhance depth.
7. Understanding Drying Times and Varnishing
Oil paint dries slowly, allowing for extended working time but requiring patience.
a. Drying Times:
- Thin layers dry faster than thick ones. Consider the drying time when planning your painting sessions.
b. Varnishing:
- Once your painting is completely dry (which can take several months), apply a varnish to protect the surface and enhance colours. Use a removable varnish so it can be cleaned and reapplied in the future.
8. Cleaning and Maintaining Your Tools
Proper maintenance of your tools ensures their longevity and better performance.
a. Cleaning Brushes:
- Clean brushes thoroughly with solvent, then wash with soap and water. Reshape the bristles and let them dry flat.
b. Storing Paints:
- Keep paint tubes sealed tightly and store them in a cool, dry place.
c. Palette Maintenance:
- Clean your palette after each session to prevent paint buildup.
9. Practice and Patience
Becoming proficient in oil painting requires practice and patience. Don’t be discouraged by initial challenges.
a. Regular Practice:
- Dedicate time regularly to practice and experiment with different techniques and subjects.
b. Learning from Mistakes:
- View mistakes as learning opportunities. Each painting session helps you understand the medium better.
c. Seeking Feedback:
- Share your work with others and seek constructive feedback to improve your skills.
Conclusion
Embarking on the journey of oil painting can be both challenging and immensely satisfying. By following these steps and embracing the process, you can develop your skills and create beautiful, expressive works of art. Remember, every artist starts as a beginner, and with dedication and passion, you can master the art of oil painting. Enjoy the creative process and let your imagination guide you.